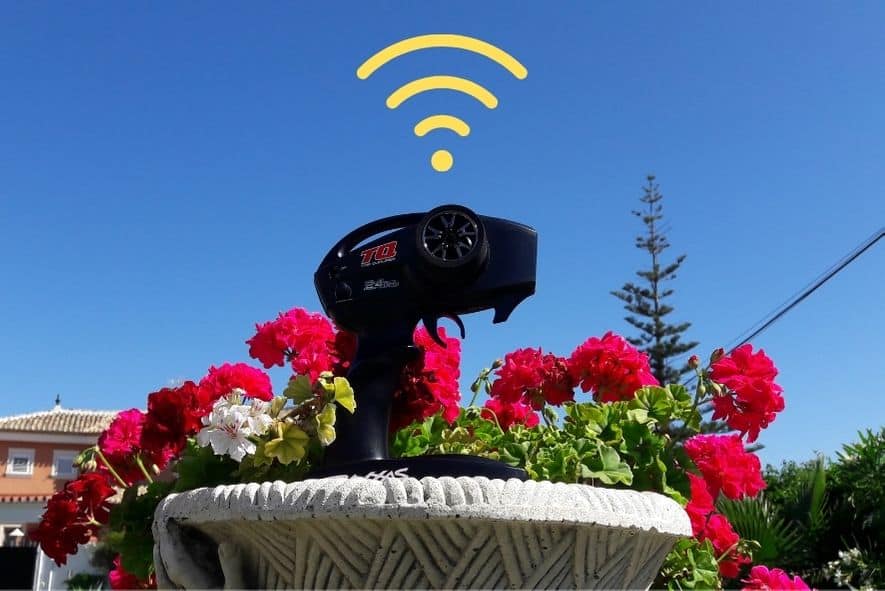
Driving RC cars and trucks is a great hobby that is fun for all ages, but that doesn’t mean it is without occasional frustrations. Most RC vehicles only have a range of up to 100 feet before the reception cuts off.
Improving the range of your remote-control vehicle is 100% achievable and not overly complicated.
The range of an RC car can be improved by changing the receiver inside the car, replacing the controller, and swapping out the stock antenna for a new longer one. Using your RC vehicle on a high elevation and away from sources that could be running on the same frequency as your car help to keep the range of your RC car optimised.
For most hobbyists, a combination of the above options will work wonders. This article will tell you everything you need to know about how to make these changes without compromising your RC vehicle.
What Limits Range?
To better understand which of these changes will be best for you and your RC car, it’s essential to determine what is limiting your range in the first place.
Hardware limitations are not the only factor to consider when it comes to RC vehicles. Environmental factors can also impact overall performance. As an example, sometimes, merely choosing higher ground can improve your range and connection. You also need to consider if you are experiencing any interference from other sources that could be running on the same frequency as your car.
On a more technical side of things, knowing the difference between high and low-frequency radio waves can give some insight into your RC car’s performance.
Lower radio frequencies have longer waves and tend to propagate further than higher frequencies. These lower frequencies require a greater area to transmit and receive, which lends well to larger antennas.
How to Change The Receiver
If you’ve ruled out environmental concerns and possible interference and are still disappointed with your vehicle’s range, it’s time to swap out the receiver.
Before you begin, you should make sure you have all of the tools and parts you need to complete the task. You will need:
- A New Aftermarket Signal Receiver
- Gloves
- Screwdriver
- Double Sided-Foam Tape/ Mounting Tape
- A Rag or disposable cloth
Using the appropriate screwdriver for your vehicle, you will need to unscrew the screws that connect the standard receiver to the car. Then, disconnect the wires that go from the receiver to the car battery or motor.
Wipe everything down with a dry rag or cloth before installing the new receiver to make sure there isn’t any debris or dust to interrupt your connections.
Now, install your new receiver in the same place your old one was and reconnect the battery or motor. If the new receiver does not line up with the screw holes in your RC vehicle, you can use double-sided tape, mounting tape, or hot glue to fix the new receiver in place.
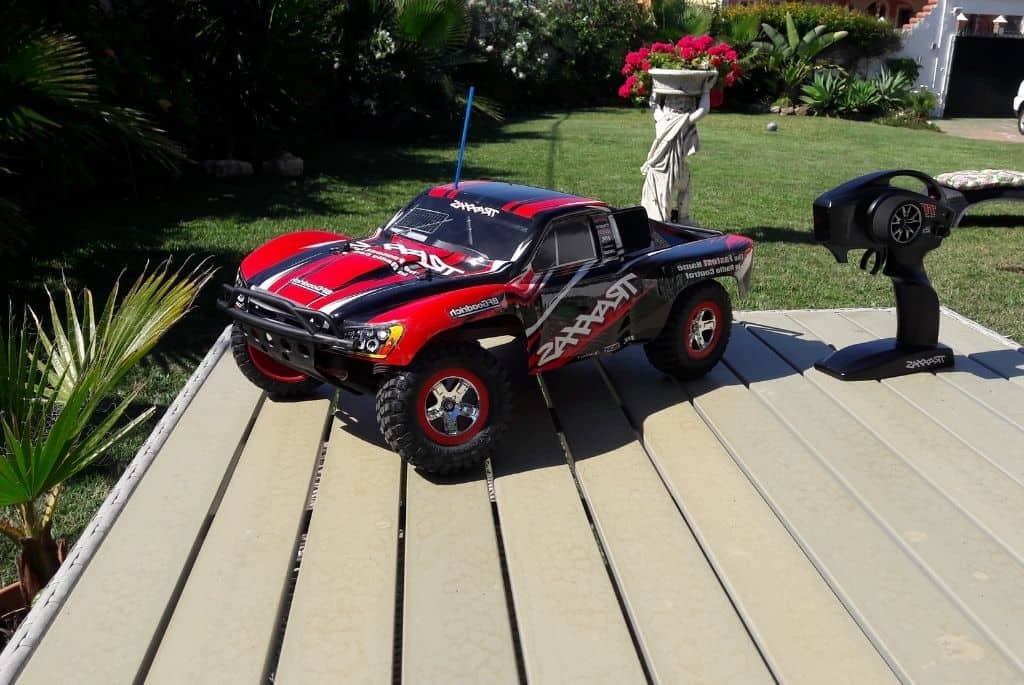
Changing the Antenna
Changing the antenna is usually a good step to improve the range and connection of your RC vehicle. A good rule of thumb is you always want to choose a longer antenna for the replacement than the stock antenna.
Before starting this swap, make sure you have:
- New (longer) antenna
- Antenna tube
Changing an antenna is a simple task; you usually just need to turn the existing antenna counter-clockwise until it detaches. Then screw your new antenna on in a similar fashion.
You can install an antenna tube for extra insurance, which essentially forces your antenna to stay upright and receive the best signal.
If you’ve already changed out the stock antenna or you had an excellent stock antenna to start, you could always try the antenna tube route first before you decide on switching to a brand new aftermarket antenna.
Changing the Handheld Transmitter
The biggest thing to keep in mind if you opt to buy a new controller is to make sure it has the same power stats as the receiver.
Suppose you’re planning on changing out your handheld transmitter and receiver at the same time. In that case, I suggest that you buy the receiver and the transmitter from the same manufacturer or choose ones you know will communicate properly.
When buying any aftermarket parts, it is also imperative that you choose reputable and safe manufacturers.
Related post: Can Any Controller Be Used On Any RC Car?
Binding the Transmitter and Receiver
Most aftermarket parts require a bit of finessing before they will work properly. The receiver should always be bound to the transmitter if you want your upgrades to work seamlessly. This should only need to be done once.
Binding is usually done by setting the receiver to the binding mode and pressing a corresponding button or installing a separate bind connector depending on the brand.
Check out this post: RC Car Not Responding to Throttle? Heres Why
Then you need to select the binding mode on your handheld remote or controller so the receiver can bind and ensure both aspects are communicating and on the right frequency.
You may also need to recalibrate the ESC after replacing any radio equipment.
Recalibrating the ESC
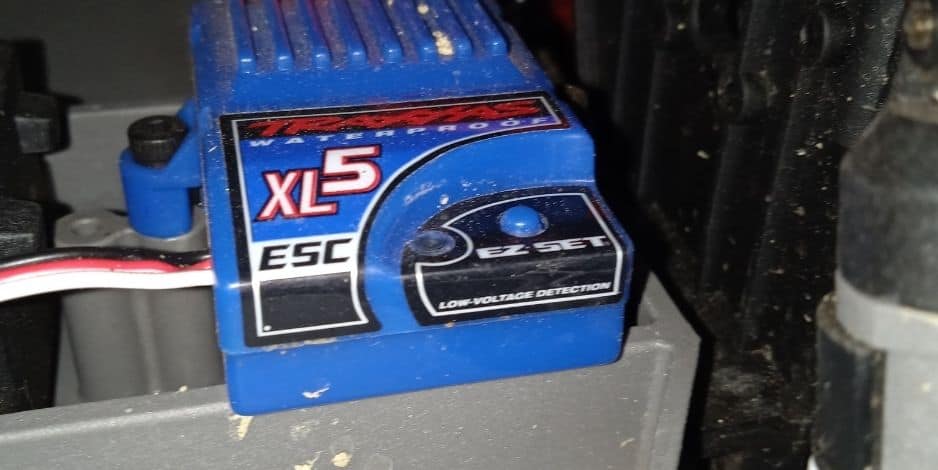
Basically, what this process means is we are telling the car where the full throttle is, where neutral is and where the maximum brakes are. If your vehicle is running slower than it should, struggling to reverse, or not braking properly, it could be because of these endpoints not being correctly calibrated.
First, make sure your controller is turned on with the throttle trim dial set to 0.
Next, you’ll want to hold down the “set” button next to the ESC’s power switch, then turn it on.
The ESC should give you a visual or audio indication it is in programming mode. Normally this will be a repeating beep.
Ensure your controller has the trigger in a neutral position, and then press the programming button again. You should hear a single beep. That beep confirms you have set the neutral position.
Next, pull the trigger toward you as if you wanted to go full throttle, all the way. This is setting your max throttle position. Press the set button again and listen for the beep. Usually, you will hear two beeps to confirm the throttle position.
Finally, push the trigger into a hard brake position. This will set your brake and reverse point. Press the set button one last time and release the trigger. You should hear a final set of beeps acknowledging this has been done correctly.
You may need to go through this a couple of times and consult instructions specific to your car and controller if these tips don’t work.
Troubleshooting After the Upgrades
As with any upgrade or hardware change, certain things might not go exactly to plan. The biggest thing to be mindful of is the connections. You need to be sure that all of the new connections have been made firmly. The antenna, for example, needs to be tight. Also, make sure if you used the tape or hot glue method, you didn’t accidentally cover up any other components.
As mentioned above, compatibility is also very important. Double-check your receiver and handheld controller. If you didn’t opt to change your controller out but did install a new receiver, you need to be sure that they are the same frequencies.
If you did buy a new controller and receiver, but they are different brands, make sure everything lines up in terms of technical specifications.
General Care Tips
Another thing that can cause less than excellent performance with your RC vehicle could be general care and storage.
Make sure the slipper gear is aligned. If the mesh on your car is too tight, it will stress the motor and speed control. Too loose will create a power loss.
Check your gear tightness, make sure no screws or parts are missing.
Make sure your shocks and wheels match the terrain where you are driving.
What to Do When an RC Car Still Isn’t Working or Performing Properly
There is a chance that the parts you got to replace your receiver, controller, or antennae may be defective. Try reinstalling your old parts and see if the car is working one at a time to narrow down the faulty part.
Make sure all batteries are in place, and all of the switches are on. You may have turned certain things off during the install, and the new receiver will need to be in the “on” position to work.
If you have multiple remote control cars, make sure you haven’t mixed up the controllers.
Check the batteries, make sure your batteries are charged, in the right position, and that there isn’t any leaking or debris interrupting the connections.
Double-check the screws and make sure everything is in place and tightened. If you opted to use the tape mounting route, try to put the old screws into the corresponding holes even if they aren’t holding anything into place. There may be a connection they assisted with beyond holding the receiver.
If you hear gears grinding, you may need to realign them.
Check your channels if your controller has multiple and make sure it is aligned with your receiver.
Enjoy Your Upgraded RC Car
If you’ve followed all these steps correctly with the right parts, you’ll have an RC car with an improved range in no time. While it might seem difficult, it’s a straightforward and easy process with easy troubleshooting options as well.
Good luck and happy driving!